
8 Winter Hiking Tips to Stay Warm & Safe on the Trails

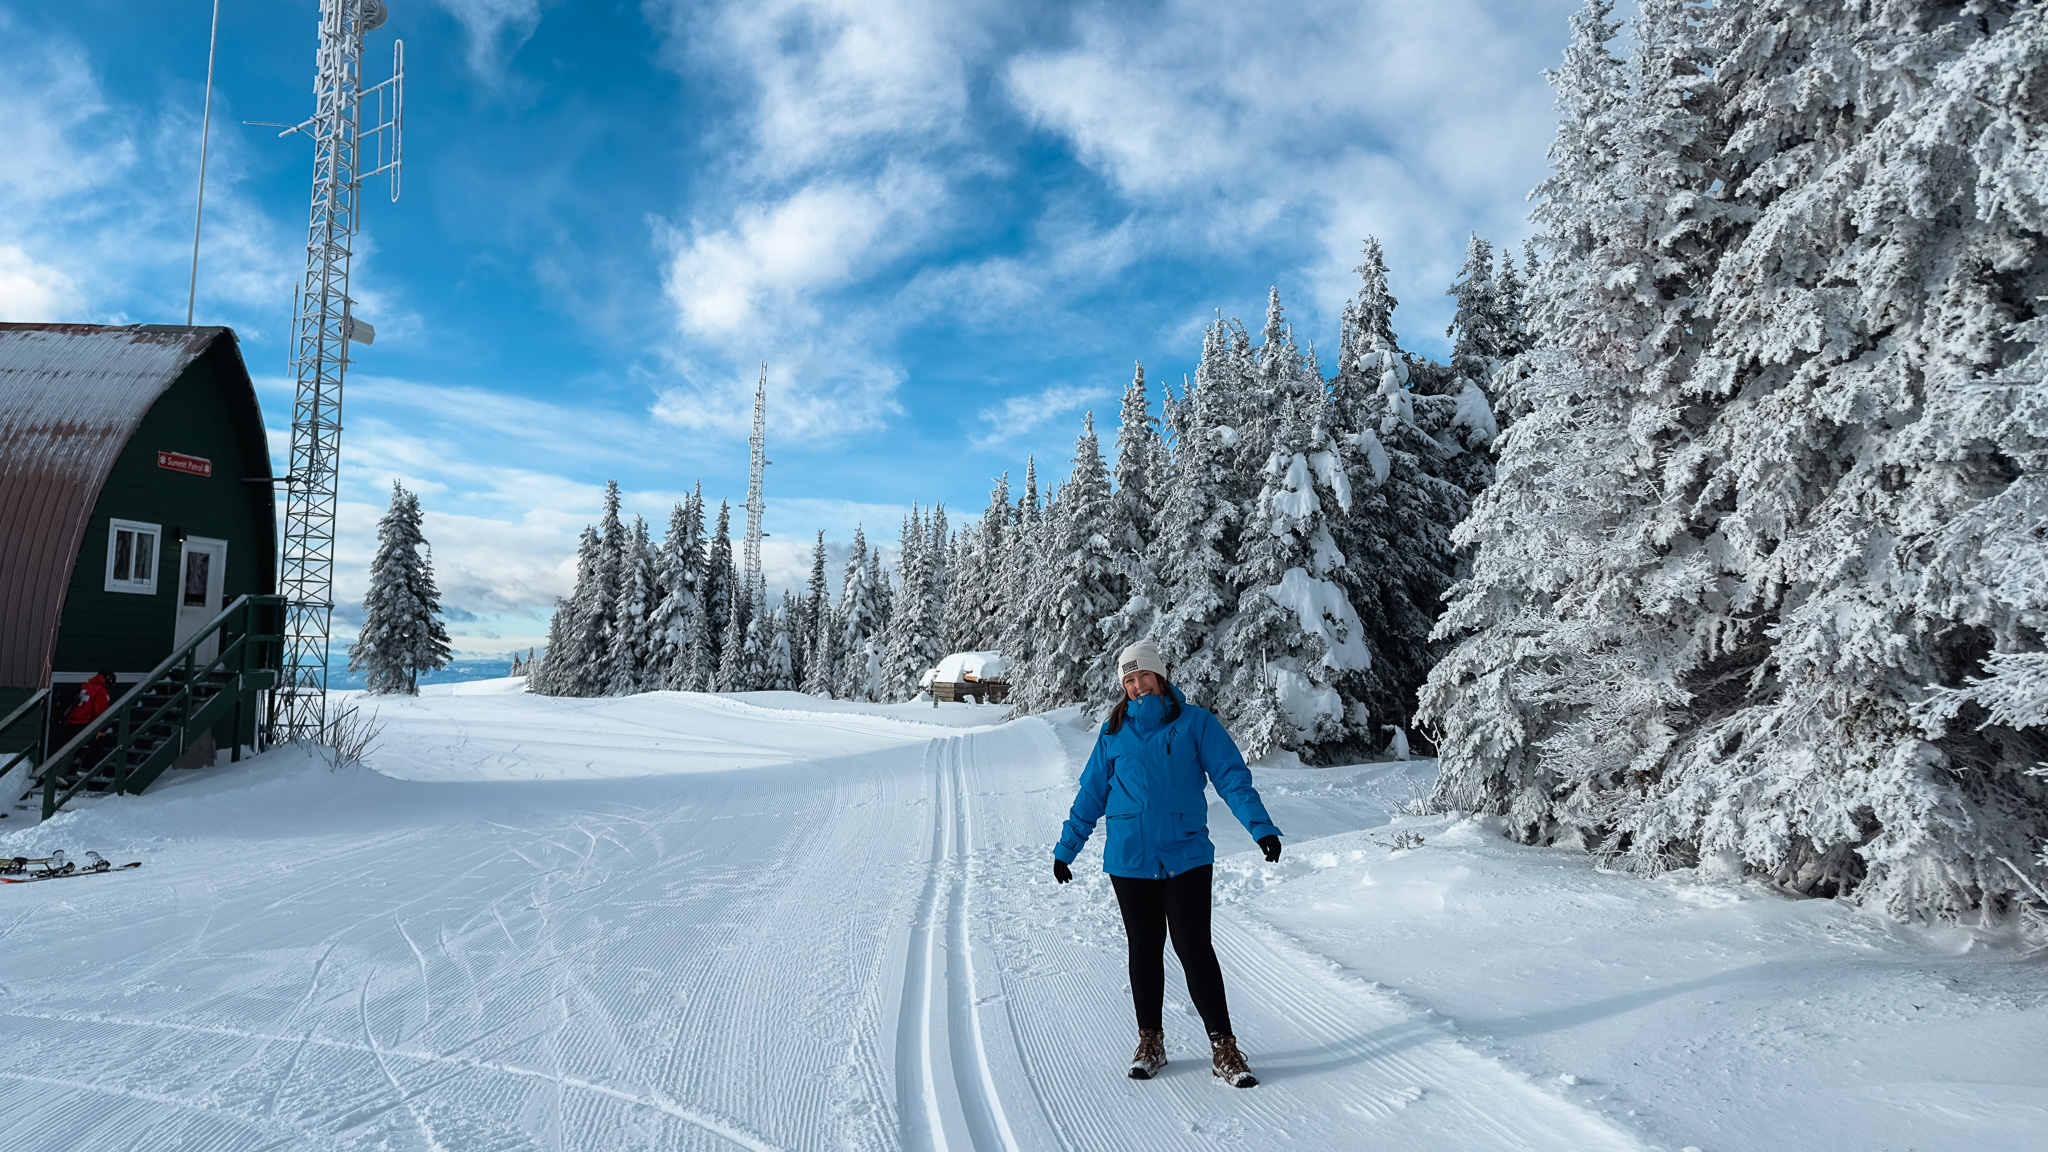
I actually really love winter hiking, especially snowshoeing. It’s so quiet out on the trails, and I love seeing places I’ve hiked a hundred times look completely different under the snow.
We don’t always get much snow down in town, so I’ll often head into the mountains just to find some! Although I’ll admit, convincing myself to leave the warm house when it’s freezing outside isn’t always easy.
Winter hiking does take a little more preparation than summer hiking, though. You have to pay more attention to the weather and make sure you’re dressed properly, because being cold and miserable is a pretty quick way to ruin an otherwise lovely hike.
But if you enjoy hiking, there’s no reason you have to pack away your boots for the winter. Here are my winter hiking tips to help you keep exploring when the snow arrives.

1. Choose the Right Winter Hiking Trail
Just because you’ve hiked a trail in the summer doesn’t mean it’ll be the same experience in winter. Snow can make even familiar trails a lot harder, especially if you’re breaking trail through fresh powder. If you’re not sure where to start, my guide on how to choose a hiking trail for your skill level has some helpful advice.
I usually stick to shorter hikes in the winter, and when I’m snowshoeing, I often head to ski resorts or Nordic centres with designated snowshoe trails. I love wandering through a snowy forest, and you don’t have to tackle a huge mountain to enjoy being outside!
If you’re new to winter hiking, I’d start with a popular, well-established trail that’s fairly short. Check recent trail reports before you go, too. A trail that was nicely packed down last weekend could be buried under fresh snow by the time you get there.
And don’t forget about getting to the trailhead! Some forest service roads aren’t maintained in winter, and parking areas might not be plowed. There’s not much point planning a hike if you can’t actually get to the start.
I’d also be careful about heading into avalanche terrain without the proper training. Even a relatively short hike can cross avalanche paths, so don’t assume a trail is safe just because it looks easy on a map.
2. Check the Weather Before You Go
I always recommend checking the weather before heading out on a hike, but it’s especially important in winter. Conditions can change pretty quickly in the mountains, and just because it’s sunny in town doesn’t mean you’ll find the same weather at the trailhead or further up the trail.
Make sure you’re looking at the forecast for where you’re actually hiking, not just the nearest city. Temperatures can be quite different at higher elevations, and wind can make it feel a lot colder than you’d expect.
I’d also check recent trail reports to see what the snow is like. Fresh snowfall might mean you’ll need snowshoes, while a well-packed trail could be icy enough that microspikes are a better choice.
And if the forecast looks miserable, there’s nothing wrong with changing your plans. The mountains will still be there another day!
Don’t Forget About Avalanche Safety
If you’re heading into the mountains, it’s important to know whether your route crosses avalanche terrain. You don’t need to be tackling a huge mountain to encounter an avalanche path, and even trails through the forest can cross dangerous areas.
In Canada, you can check current conditions through Avalanche Canada. But remember, checking the forecast doesn’t automatically make a trail safe. You also need to know how to recognize avalanche terrain and understand the conditions.
If you don’t have avalanche training, I’d stick to established routes that avoid avalanche terrain. And don’t assume a designated snowshoe trail is automatically safe! Check the area’s warnings before heading out.
3. Dress in Layers for Winter Hiking
One of the biggest mistakes you can make when winter hiking is dressing too warmly. I know that sounds a little backwards when it’s freezing outside, but once you start moving uphill, you can get pretty hot!
I usually start my hikes feeling a little cold, but I warm up fast. It never takes long before I’m pulling off layers and stuffing them into my backpack.
And that’s exactly why layers are so important. If you end up sweating through your clothes, you’ll feel a whole lot colder when you stop for a break.
Start with a Base Layer
Your base layer sits against your skin, so you want something that pulls moisture away rather than holding onto it. Merino wool or synthetic fabrics are both excellent options. A thermal long-sleeved top and leggings are a good starting point, although you might not need both if the weather is fairly mild.
I’d avoid cotton, especially for longer hikes, because it absorbs sweat and takes ages to dry.
Add a Warm Mid-Layer
Your mid-layer is what helps keep you warm. A fleece or lightweight insulated jacket works well, depending on the temperature.
I’d choose something that’s easy to take off and pack away. You might feel perfectly comfortable standing at the trailhead, only to realize you’re wearing far too much once you start climbing. It’s also handy to bring an extra warm layer for breaks. You can cool down surprisingly quickly when you stop moving.
I’ve also tried hiking and snowshoeing in a heated jacket, which is pretty nice when it’s freezing outside! I’ve had my Venustas heated jacket for a few years now and still really like it. Being able to adjust the warmth is really handy, although it’s definitely more of a luxury than a necessity. You can read my Venustas heated jacket review if you’re curious how it performed.
Wear a Jacket That Blocks the Wind
Your outer layer helps protect you from wind and snow. A waterproof, windproof shell is useful, especially if the weather is unpredictable. You don’t necessarily need a massive winter coat. In fact, a lighter shell over your other layers often gives you more flexibility.
When it’s not particularly cold, I often use my rain jacket as an outer shell.
Don’t Forget Your Hands, Head & Feet
Cold fingers can make an otherwise lovely hike miserable. I always recommend bringing gloves, even if you don’t think you’ll need them. And if it’s particularly cold, mittens are usually warmer.
I also always wear a toque when I’m winter hiking. Even when I’m peeling off other layers because I’ve warmed up, my toque usually stays right where it is!
For your feet, wear warm, moisture-wicking socks and waterproof hiking boots. I’d avoid doubling up on thick socks if they make your boots too tight because that can actually make your feet colder. And please, leave the cotton socks at home.
If you’re hiking through deeper snow, gaiters are also really handy. They wrap around the tops of your boots and lower legs to help keep snow from sneaking inside.
4. Bring the Right Winter Hiking Gear
You don’t need a whole collection of expensive gear to start winter hiking, but there are a few things that can make a huge difference. Especially when the trail is covered in ice or you’re sinking into snow with every step!
A little PSA: If you’re picking up any winter gear and already shop at Amazon or MEC, I’d really appreciate you using my links! I’ll earn a small commission on qualifying purchases at no extra cost to you, and it helps me keep Explore the Map going. Thanks for supporting my little corner of the internet ❤️
Microspikes for Icy Trails
If you plan to hike in winter, I’d definitely recommend getting a pair of microspikes. They slip over your hiking boots and give you extra traction on packed snow and icy trails.
I’ve found them particularly handy on popular trails where the snow gets packed down by other hikers and eventually turns into ice.
Just remember that microspikes aren’t the same as mountaineering crampons. They’re great for many ordinary winter trails, but they aren’t designed for steep, technical terrain. If a route requires proper crampons or an ice axe, it’s a different kind of hiking that requires additional skills.
Snowshoes for Deep Snow
If you’re heading out in deeper snow, snowshoes are definitely handy. They spread your weight across a larger area, so you’re not sinking up to your knees with every step.
I usually head to ski resorts or Nordic centres with designated snowshoe trails. They’re a great option if you’re new to snowshoeing, and many places offer rentals if you don’t have your own equipment.
One feature I really like is the heel lift (sometimes called a climbing bar). It’s a little bar you flip up under your heel when you’re heading uphill, and it makes climbing much more comfortable. If you’re buying snowshoes and plan to tackle some hills, I’d definitely look for a pair with this feature!
Hiking Poles Can Be Really Handy
Hiking poles are useful in winter, especially when the trail is slippery. They give you a little extra stability and can help with balance when you’re walking through uneven snow.
If you’re snowshoeing, I’d recommend using poles with snow baskets. The wider baskets help prevent the poles from sinking too far into soft snow. They’re not essential for every winter hike, but they’re definitely nice to have when conditions get more difficult.
Don’t Forget Your Regular Hiking Essentials
Even if you’re only planning a short winter hike, don’t leave your usual hiking essentials at home. I’d actually be more careful about what you pack in winter because getting stuck outside in freezing temperatures is a lot more serious than it is on a warm summer day.
Make sure you’ve got an extra warm layer and an emergency blanket or bivy in your backpack. Hopefully, you’ll never need them, but if you’re injured or stuck waiting for help, staying warm becomes incredibly important.
It’s also important to know the signs of hypothermia. Uncontrollable shivering can be an early warning sign, while confusion or difficulty speaking can mean it’s becoming much more serious. If you suspect hypothermia, get the person somewhere sheltered, prevent further heat loss, and seek medical help ASAP. Severe symptoms require emergency assistance. The Canadian Red Cross has more information on recognizing and responding to hypothermia.
5. Plan Around Shorter Daylight Hours
One thing I really don’t like about winter is how early it gets dark. You can head out for a hike in the afternoon and suddenly realize you’ve only got a couple of hours of daylight left!
That’s why I’d recommend starting your winter hikes earlier than you normally would. Even if you’re planning a fairly short trail, give yourself more time than you think you’ll need. Walking through snow can be surprisingly tiring, especially if you’re breaking trail.
I also like having a turnaround time in mind. If you’re not as far along as you’d hoped, it’s better to turn back than try to squeeze in the rest of the hike before sunset. The trail isn’t going anywhere!
And always bring a headlamp, even if you’re certain you’ll be back before dark. Your phone flashlight isn’t a great substitute, especially if you need it to navigate.
6. Know How to Navigate Snow-Covered Trails
Finding your way around a trail can be a lot harder in winter than you’d think. Once everything’s covered in snow, paths that are really obvious in summer can practically disappear.
Even if you’ve hiked somewhere before, don’t assume you’ll recognize the trail. Signs might be buried under snow, and it’s not always obvious which way you’re supposed to go.
I like having an offline map downloaded before heading out, just in case. AllTrails is handy for checking your location, especially when the trail isn’t well-marked. Just make sure you’ve downloaded your map ahead of time because you can’t always count on having cell service in the mountains.
And be careful about following footprints! Just because someone else went that way doesn’t mean they’re actually on the trail. They might be heading somewhere completely different.
If you’re having trouble finding your way, I’d turn around rather than keep going and hope for the best. There’s no point getting yourself lost over a hike you can always come back and do another day.
7. Bring Enough Food and Water
It’s easy to forget about drinking water when you’re hiking in winter. I know I’m not nearly as thirsty when it’s cold outside, but you’re still working hard, especially if you’re trudging through deep snow.
Make sure you’re bringing enough water for your hike, even if you’re only heading out for a couple of hours. And if it’s particularly cold, keep your water bottle somewhere insulated so it doesn’t freeze. A bottle tucked inside your backpack will usually do better than one sitting in an outside pocket.
Personally, I love bringing a thermos with a warm drink on winter outings. Hot chocolate or tea is a pretty nice treat when you’re sitting outside in the snow! I also recommend bringing more snacks than you think you’ll need. Hiking through snow can take a lot of energy, and it’s nice to have something to munch on when you stop for a break.
Keep in mind that some snacks can freeze or become really hard in cold temperatures. Chocolate bars and certain protein bars aren’t always the easiest things to eat when they’re frozen solid, so I’d pack something that holds up better in the cold.
8. Tell Someone Where You’re Going
Before heading out on a winter hike, make sure someone knows where you’re going and when you expect to be back.
I know it might seem a little unnecessary if you’re just heading out for a short snowshoe, but accidents can happen on easy trails, too. And with the shorter days and colder temperatures, you really don’t want to be stuck outside longer than planned.
Let someone know which trail you’re hiking and roughly when you’ll be home. If your plans change, send them an update when you have service. That way, if you don’t show up when expected, someone knows where to start looking.
If you’re not sure what information to leave, AdventureSmart has a free trip planning tool that makes it easy to share your plans with someone you trust. It’s handy for making sure you haven’t forgotten anything important before heading out.
I’d also recommend hiking with someone else, especially if you’re new to winter hiking. It’s nice to have company anyway, and having another person around can make a big difference if something goes wrong.
Ready to Hit the Winter Trails?
Winter hiking definitely takes a little more preparation, but I wouldn’t let the cold stop you from getting outside. You don’t have to tackle anything particularly difficult, either. Sometimes a short hike through a snowy forest is plenty!
Just pay attention to the conditions and don’t be afraid to change your plans if the weather isn’t cooperating. The mountains aren’t going anywhere.
And if you’re looking for somewhere to start, check out my Kelowna snowshoeing guide for some of my favourite places to explore in the winter.