How to Choose a Hiking Trail for Your Skill Level
Hiking is easy enough, right? One foot after the other. It’s just like walking. Ha! Only sort of.
Even though hiking seems simple, if you’re not careful you can get yourself into trouble. There’s a lot more to choosing your hiking trail than you may think.
And, for that matter, packing your backpack. But I’m not going to get into that here. You can read about it in our ten hiking essentials article.

Tips on Choosing Your Hiking Trail
Whether you’re brand new to hiking or have been hiking since you were two, it’s important to not get overly excited and just “wing-it” at the first trail you see — I’ve been known to do this and Jacob always has to reign me in.
As with all outdoor activities, being a prepared and knowledgeable hiker will make your experience outdoors so much more enjoyable.
1. Your Fitness & Experience Level
Before you even think about choosing your hiking trail, you need to be real with yourself about your fitness and experience level. It’s easy to get in over your head and I don’t want Search and Rescue coming after you. Jacob and I have chosen a few trails above our skill level and, believe me, those weren’t fun experiences.
I’m a firm believer in pushing yourself, but there’s always a line you don’t want to cross. It’s better to air on the side of caution if you’re unsure of your skill level. Remember, you’re not invincible and as much as you might love nature, it can be pretty damn unforgiving. Besides, the more you hike the better you’ll get.
Once you’ve figured out your skill level, you can start choosing your hiking trail.
2. Determine the Trail’s Difficulty
Now that you know your skill level, you’ll need to choose a trail that matches that.
Many parks and nature areas have the trail’s difficulty listed at the trailhead. The trails are usually marked as easy, moderate, or strenuous (or something of the sort). If the park doesn’t have posted information, the information is usually readily online.
If you’re new to hiking, start with the easier trails and work your way into the harder ones. It’s much more rewarding to complete a hike than to turn back because you’ve gotten yourself into trouble. Remember, you can always come back!
3. Trail Length & Elevation Change
Now that you know your difficulty level, it’s time to look at the length and elevation change of your trail. Elevation can drastically change a 2 km hike from a cake walk to a hike from hell. Don’t underestimate it.
Even though a trail might be marked as easy, remember: a 2 km trail is a lot different than 10 km and a 10 m elevation change is a lot different than 300 m. Always plan accordingly and be prepared.
The trailhead information will usually give you a trail’s length, but not elevation or duration. If there is a duration, it’s always an approximate, so take it with a grain of salt. If the elevation isn’t posted, try checking out Alltrails.com. I try to include elevation change on all the trails I write about so that you’re well informed.
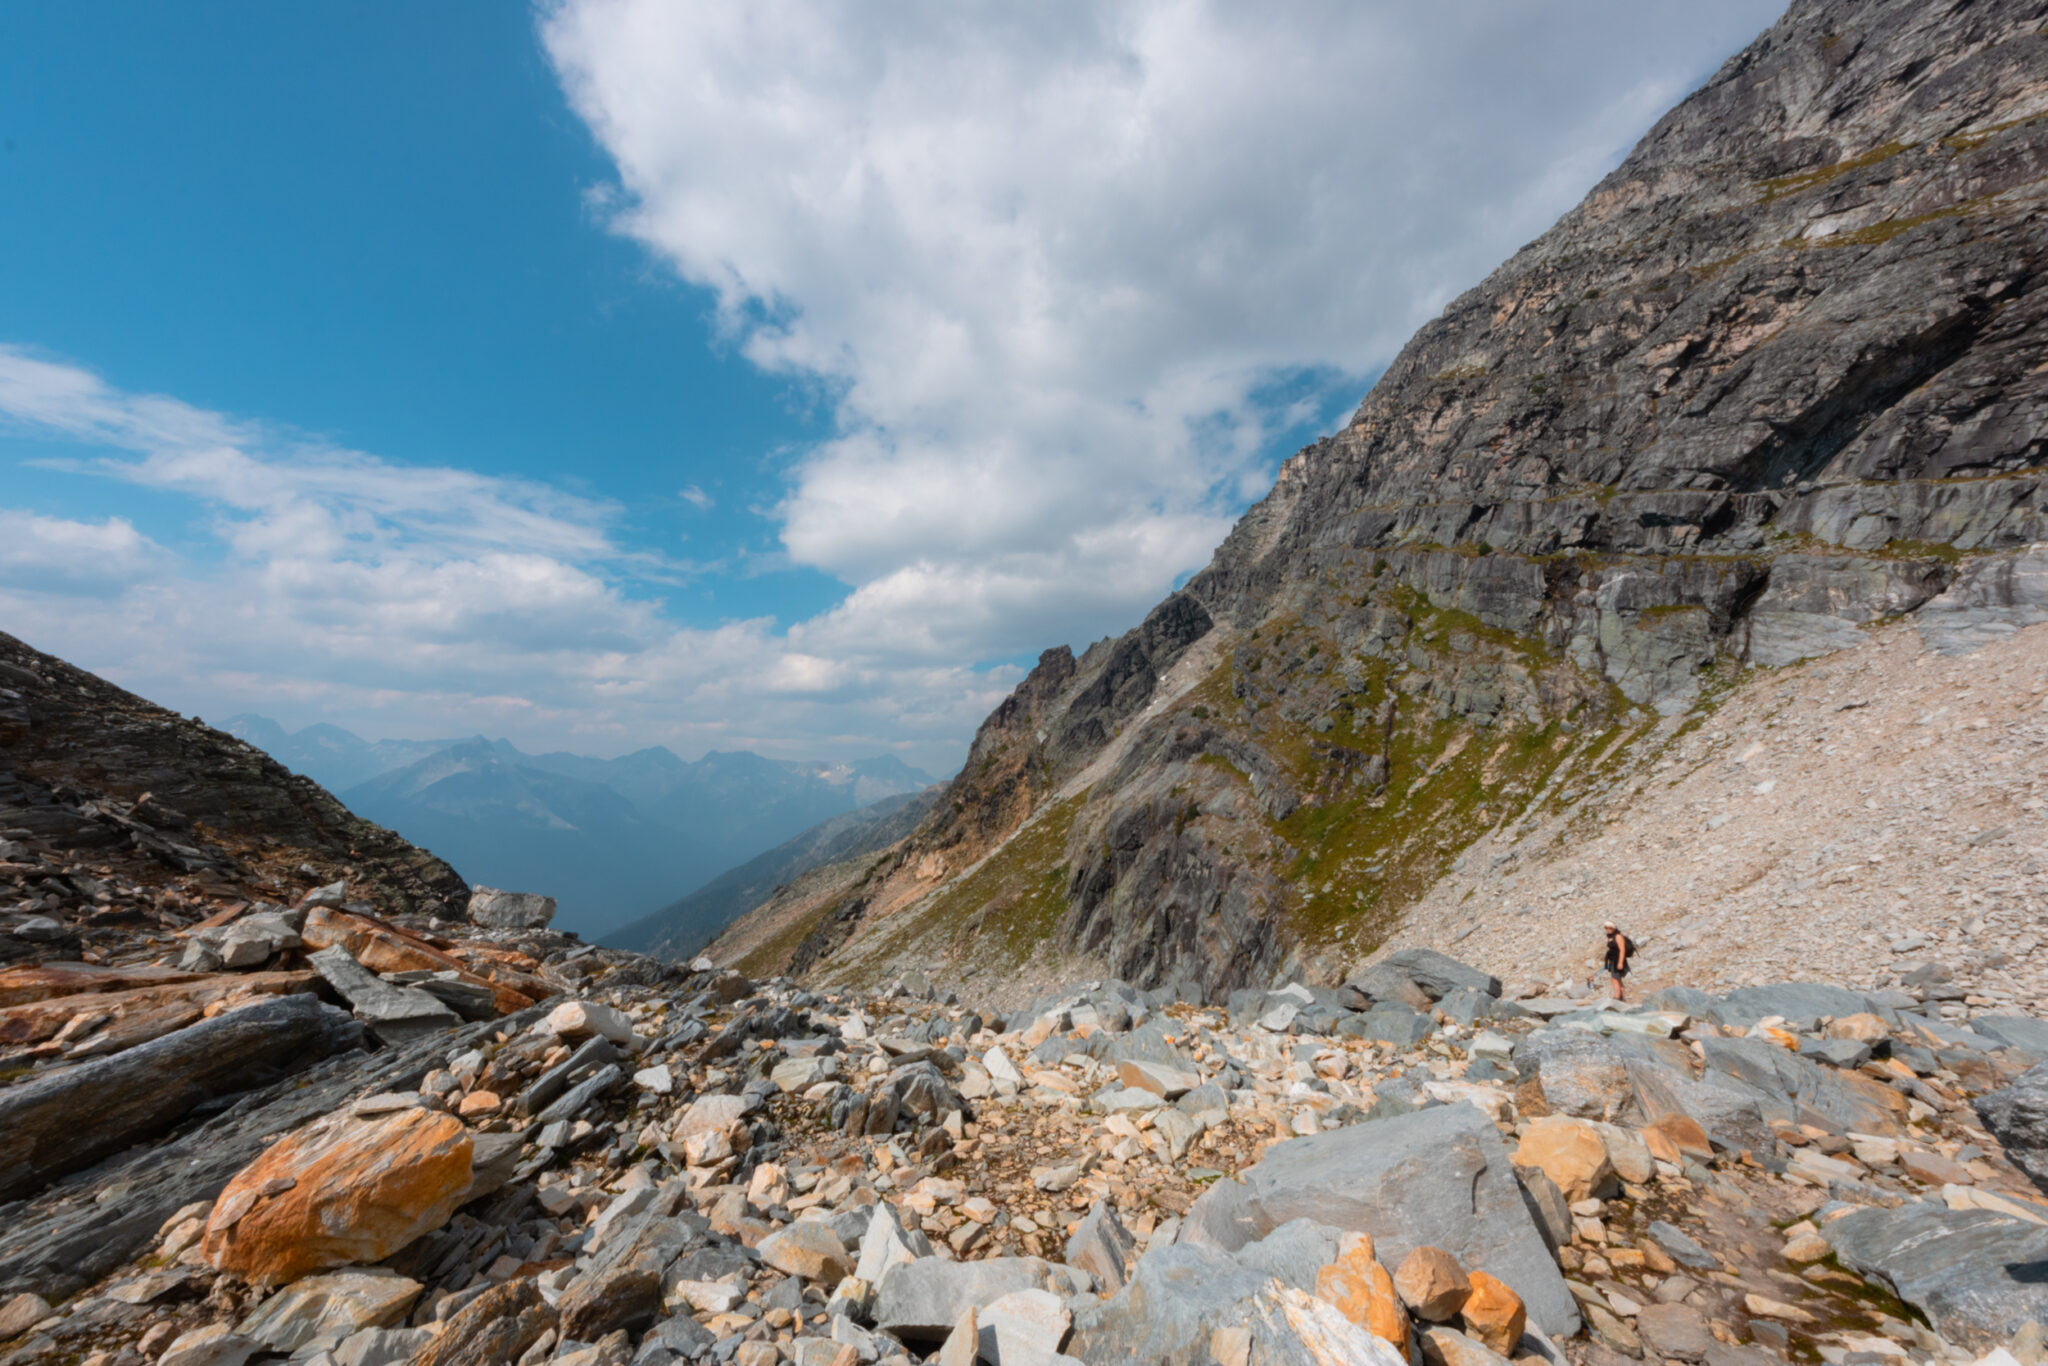
4. Trail Hazards & Obstacles
Some trails have natural hazards and obstacles along the way. Logs, rushing water, narrow trails, and steep cliffs are only a few of the things you might have to face.
Always do your research before you start hiking so you know what to expect! As always, if you don’t feel comfortable passing one of these obstacles, don’t. Just turn back. There’s no shame in that. It’s better to keep yourself safe than push yourself past your manageable limit.
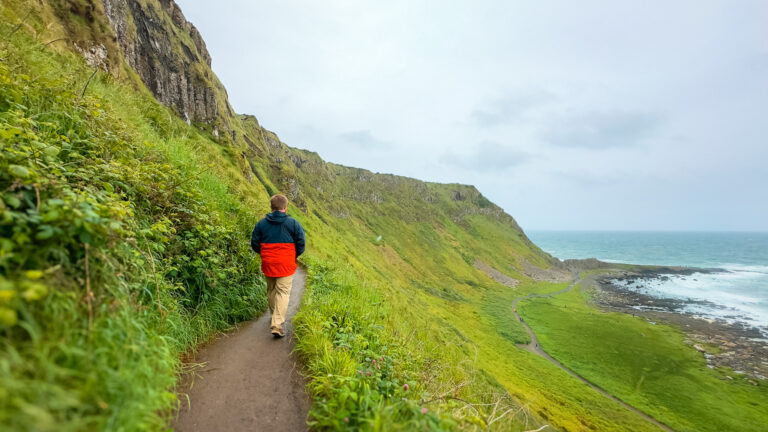
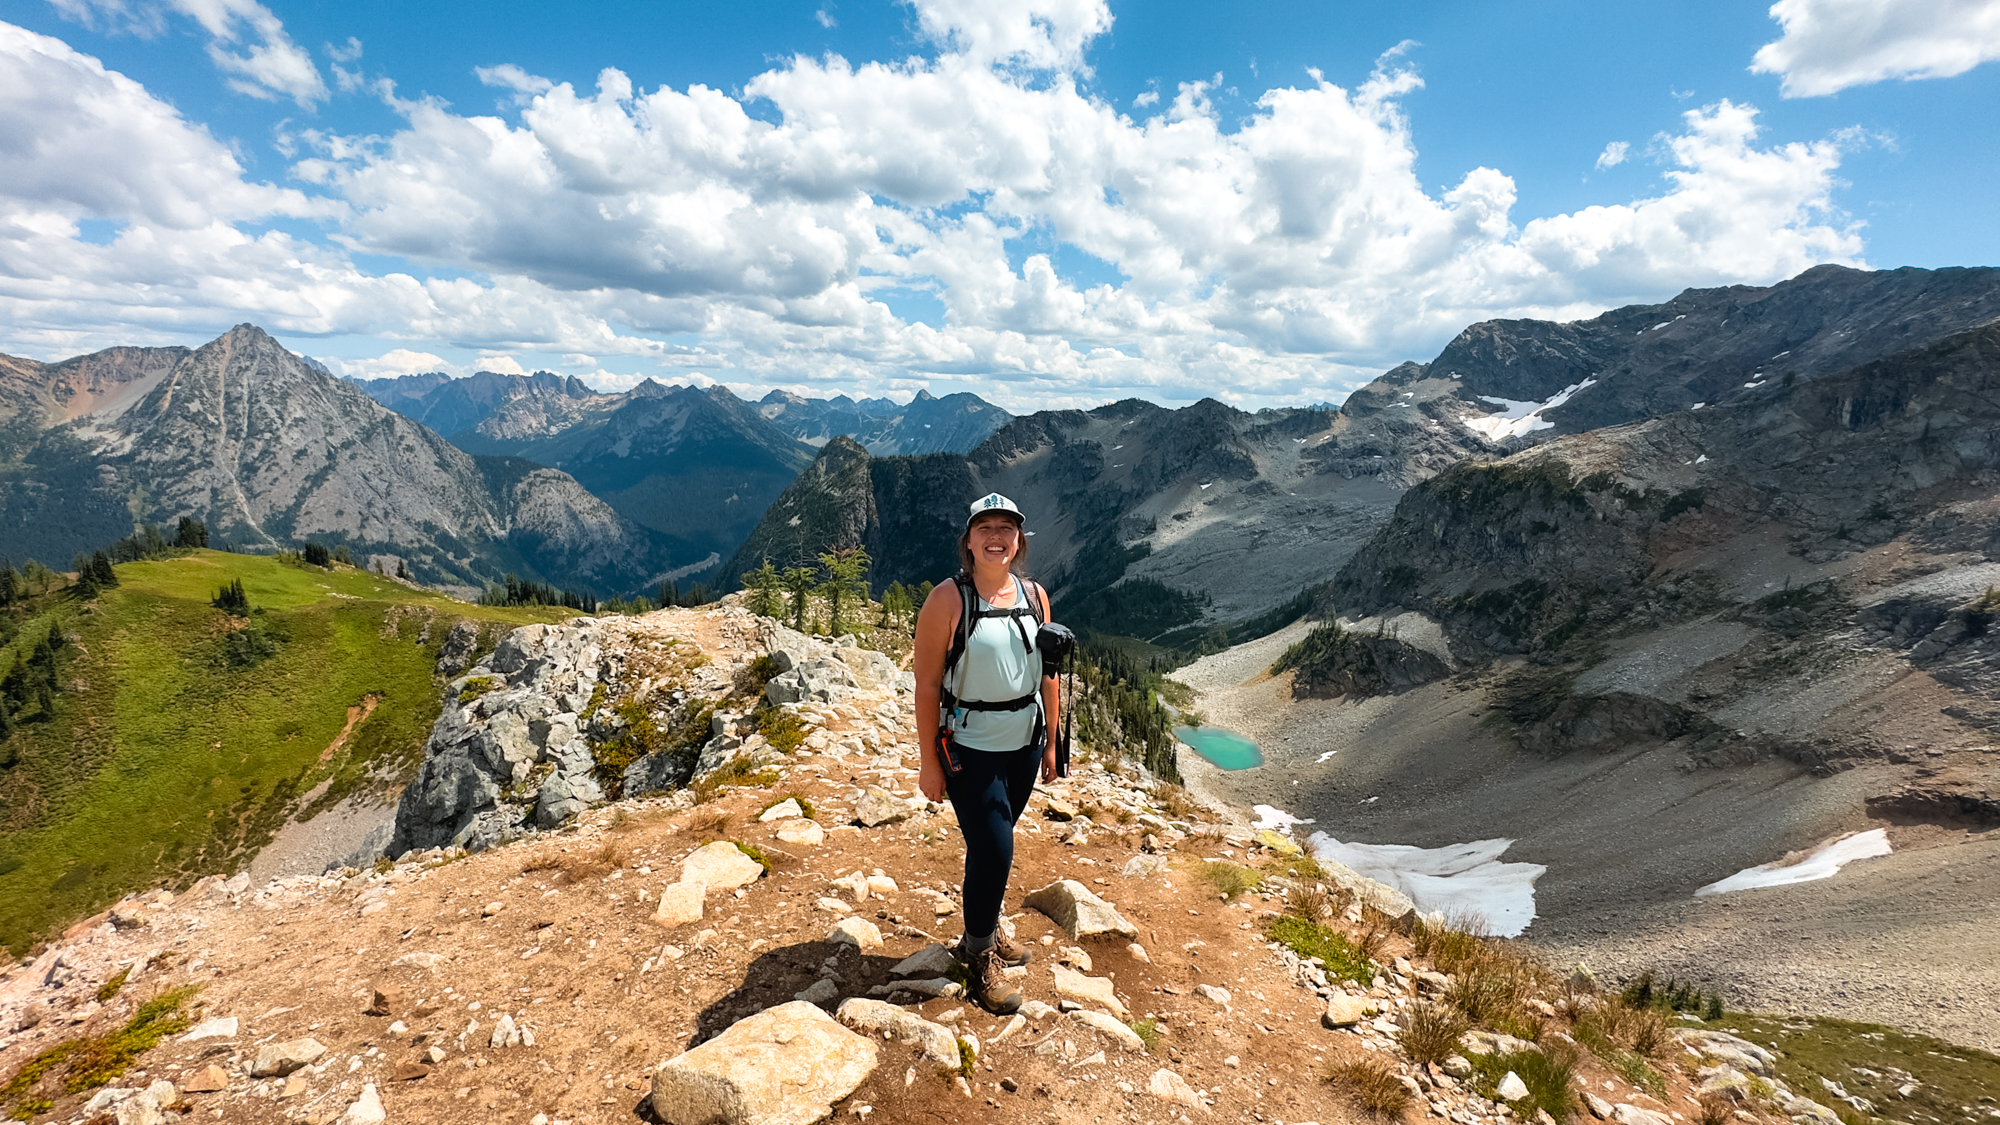
5. Awesome Trail Views
And finally, once you’ve chosen the hiking trails you can safely go on, it’s time to look at the best part: the view!
I love choosing hikes with amazing views. Whether it’s a panoramic landscape, lake, waterfall, rocky crag, or plant life, I’m all over it. There’s beauty in every hike! .
I hope these tips will help you choose your perfect hiking trail! Have fun out there — and stay safe!