Crawford (Canyon) Falls in Kelowna, BC
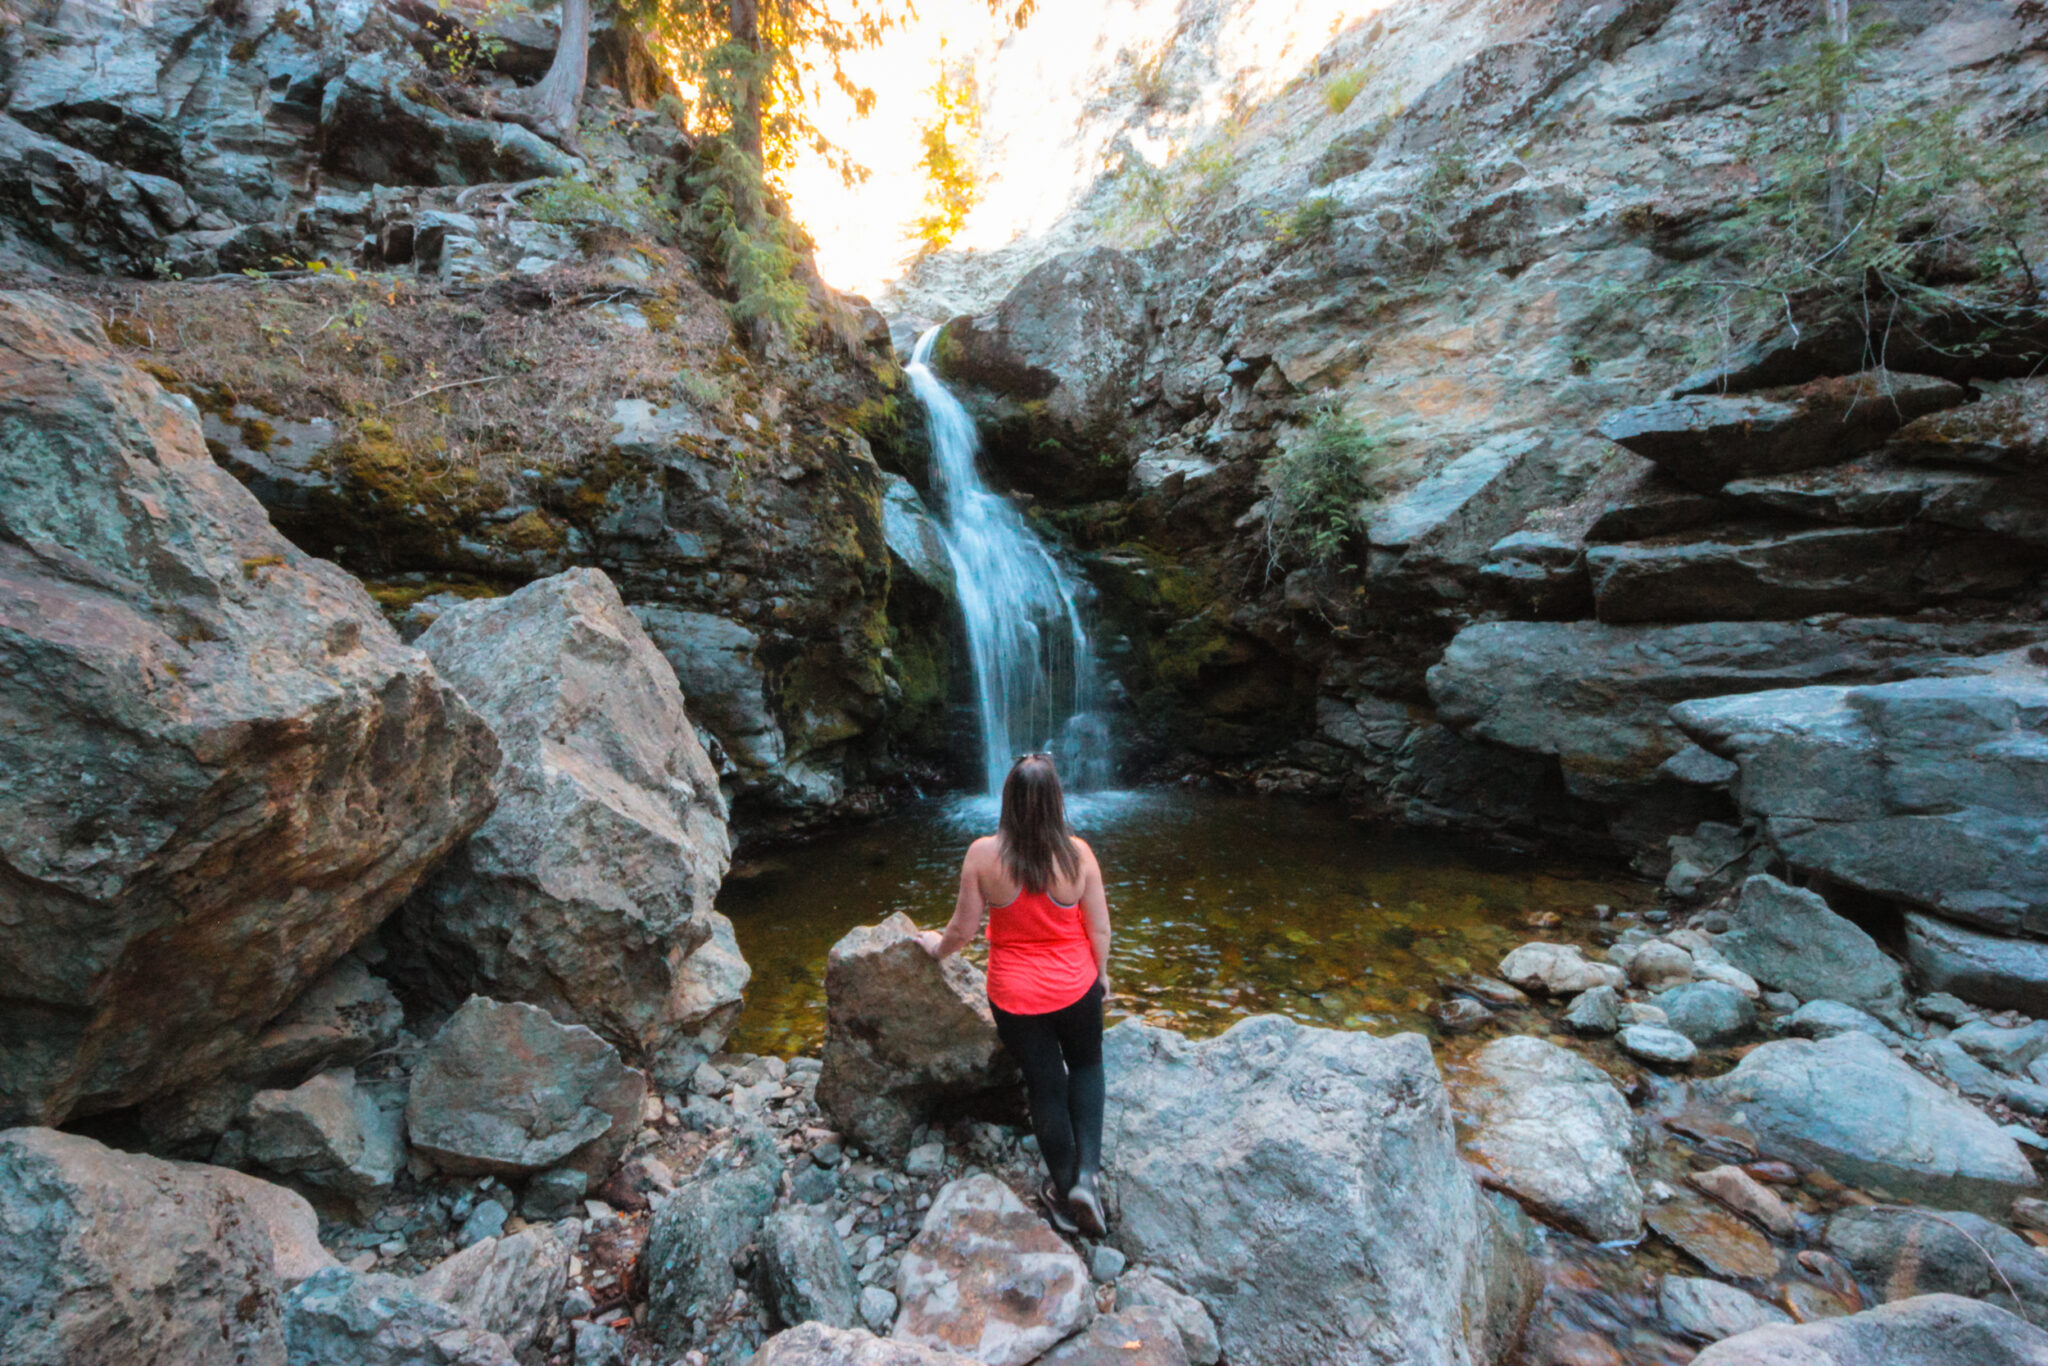
Crawford Falls, which is also called Canyon Falls, in Kelowna is the perfect spot for waterfall chasers.
It’s a beautiful, easy hike that descends into a small canyon that’s home to not one, but two waterfalls. The waterfall hike is open year-round and is fun to explore throughout the seasons.
Make sure you respect the area and obey signage so that everyone can enjoy the area for years!
Tip: The Crawford Falls trail has been closed periodically over the years due to slope instability. Please check the regional district’s website for information and obey all signage.
Quick Stats for Crawford Falls
- Difficulty: Moderately Easy
- Trail Type: Out-and-back
- Length: 2 km (see map)
- Trailhead: Canyon Falls Ct, Kelowna
- Open Dates: Closed periodically, check the regional district’s website
Trail Information for Crawford Falls
One of the most confusing things about this waterfall hike is that it has two names: Crawford Falls and Canyon Falls. Let me set the story straight — they’re one and the same. For the sake of this article, I’m going to refer to the waterfall as Crawford Falls.
Overall, this is a short, quick hike that takes about an hour. I love hiking at Crawford Falls all year long. It’s a great place to take a dip in the summer and enjoy a frozen waterfall in the winter.
There are usually at least a few groups on the trail, but it never seems overly crowded. And if you visit in the winter, you’ll probably have the trail to yourself! Not nearly as many people wanna brave the cold.
Parking
There isn’t a lot of parking at Crawford Falls. The trailhead is located in Canyon Falls Court, a small cul-de-sac with a designated parking area. Make sure you park within the signs and don’t block any driveways. I always try to go early to snag one of the coveted spots!
What to Expect
The trail to Crawford Falls has been improved a lot over the past couple of years, so it’s a lot easier now than it used to be. There are signs, staircases, and railings that make the trail to the lower falls obvious. The trail to the upper falls viewpoint isn’t quite as clear, though. More on that later.
From the parking area, the trail squeezes between a fancy home and the edge of the canyon. Before long you’ll reach an obvious fork in the trail. One trail continues along the top of the canyon to the upper falls viewpoint and the other trail quickly descends into the canyon to the lower falls.
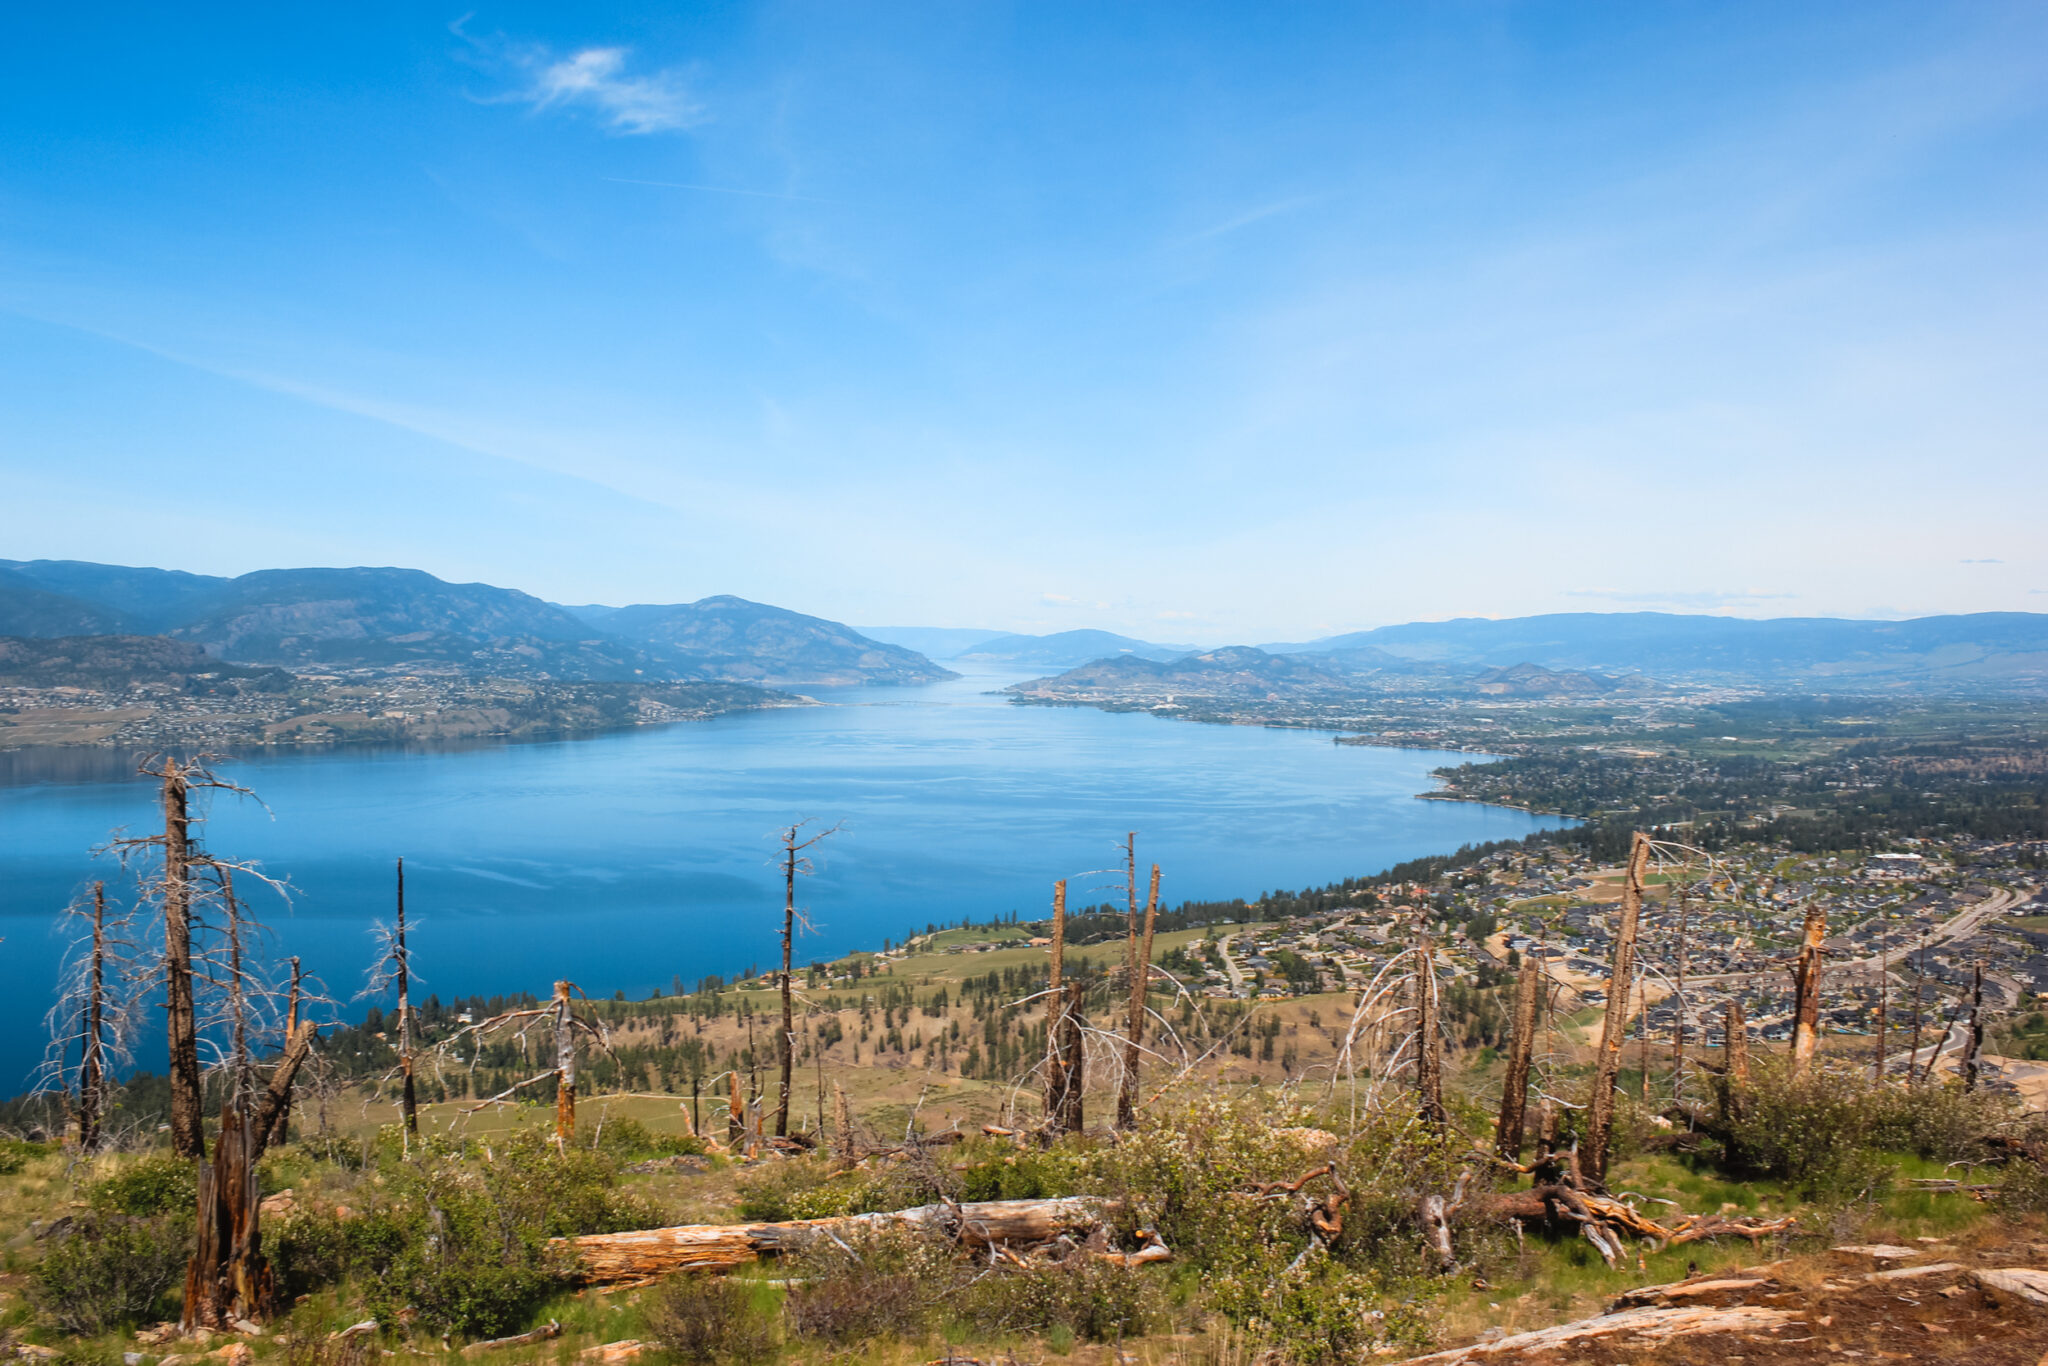
Before you head off, enjoy the view of Okanagan Lake and Kuipers Peak from here and see if you can spot the lower falls through the trees.
Lower Crawford Falls
To reach the lower waterfall at Crawford Falls, take the trail that heads down into the canyon. It’s a steep, quick descent. The trail isn’t too difficult in the summer, but it can be a little awkward (especially in the beginning). However, in the winter it gets very icy and slippery. Be careful, go slow, and wear the proper gear.
You’ll hike through a tunnel of trees that’s covered in rocks — this is the hardest part of the trail to the lower falls. After that the trail is a lot clearer, winding over a small trickle of water, across a grassy hillside, and down a metal staircase. You’ll continue to descend, eventually meeting up with Bellevue Creek. Once you’ve reached the creek, you’re almost there. Continue heading into the canyon and you’ll soon spot the waterfall.
The lower Crawford Falls is a beautiful, gentle waterfall. The 20-foot waterfall tumbles down into a rocky cove, surrounded by large rocks and the canyon walls. It’s a beautiful place to explore and you could even enjoy a quick dip in the small pool at the base of the waterfall. If you visit in the winter, the frozen waterfall is spectacular!
Upper Crawford Falls
As you’re exploring the lower falls, you’ll notice a trail up the rock face that leads to the upper Crawford Falls. You’ll also see signs clearly telling you not to do that. I’ve seen articles telling people to ignore those signs, but I don’t agree. Not only is the scramble up the rock face steep, slick, and dangerous, it’s deteriorating the hillside.
For full transparency, I have visited the upper Crawford Falls once. It was years ago, long before signs advised otherwise. Although the waterfall is impressive — it’s about 40-feet tall, after all! — I don’t recommend you access it this way. When you’re exploring, it’s important to respect the rules surrounding natural areas so that they remain beautiful and accessible for years to come. Luckily, there’s another way you can see the upper Crawford Falls!
To see the upper Crawford Falls, head back the way you came. When you get to the top, take the second fork that follows the top of the canyon. There are a few different routes on this trail (ignore the open digging sign, you won’t be near it) but if you keep to the right you’ll eventually reach a viewpoint where you can see the upper Crawford Falls from above. It’s a small viewpoint and a little nerve-wracking to peer over, but the view is awesome.
If you wanna get a little closer, there’s a rope nearby that descends into the canyon and brings you to the top of the waterfall. It’s a very steep descent and the rope looks a little sketchy, but it’s doable. Just be careful and realistic about your abilities. And I shouldn’t have to say this, but don’t get too close to the top of the waterfall!
Recommended Gear
The time of year you visit Crawford Falls will really determine what you should pack on your hike. It is a short hike so you don’t need to bring a ton of gear, but a few things will help you make the most of your waterfall adventure!
- Swimsuit: In the summer, the pool at the base of the lower Crawford Falls is a great place for a quick dip! I love Londre and Wolven swimsuits because they’re both sustainability made and beautiful.
- Lightweight towel: If you take a dip, a quick-dry towel is a great thing to bring along.
- Runners: Even though it’s a short hike, parts of the trail don’t have a lot of traction. Regardless of the season, wear shoes with a grip so that you’re not slipping and sliding all over the place. Runners or hiking boots are best.
- Crampons: In the winter the trail gets very icy. You don’t need crampons, but they’ll make your life a hell of a lot easier. They’re basically spiky grips you attach to your boots that prevent slipping on icy trails.
- Hammock: There are plenty of places you could pitch a hammock and enjoy the small piece of paradise.
